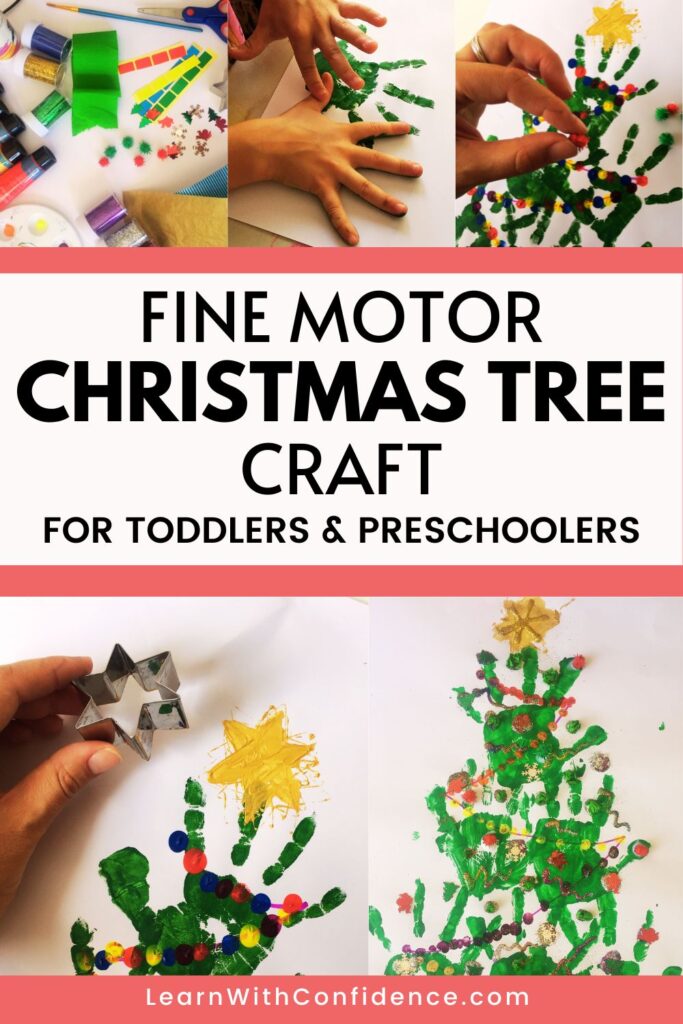
Fine Motor Christmas Tree Craft for Preschoolers
Christmas is such a fun time and with the littles at home, we need something fun to keep them busy! I saw a similar craft while scrolling one day and thought, “This is SO great for Fine Motor Skills! You can practice so many skills with this craft!” So here’s my version: The Fine Motor Christmas Tree Craft for Preschoolers!
Fine Motor Crafts are a Fun Way to Learn and Boost Development
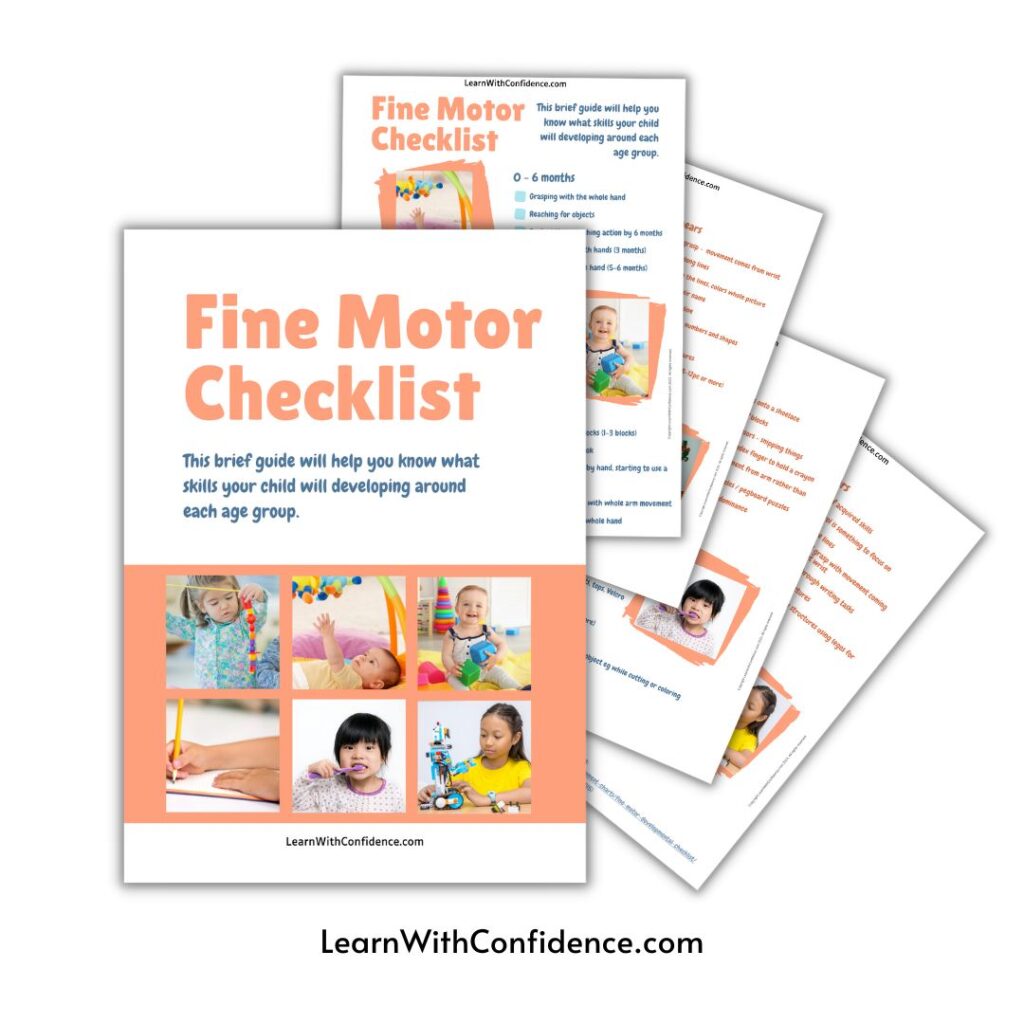
Develop fine motor skills with crafts…Kids don’t even know they’re learning… giving their brains opportunity to practice skills with a rewarding outcome… connection time…link to free fine motor milestone checklist to check your child’s fine motor development
Fine Motor Skills are such an important foundational skill that make life and learning later on so much easier.
When you use crafts and play to teach and practice skills, your preschooler benefits in so many ways.
They don’t even know they’re learning but their brain is practicing those neural connections, solidifying those neural pathways for these skills. Their little hands are getting stronger and practicing being more coordinated every time they do part of the craft. And there’s a really fun and rewarding outcome of a beautiful craft they can display for everyone to see.
In addition to those benefits, the most valuable is probably the quality time and connections being built as you lead your little one through these tasks.
What you’ll need for this Fine Motor Christmas Tree Craft
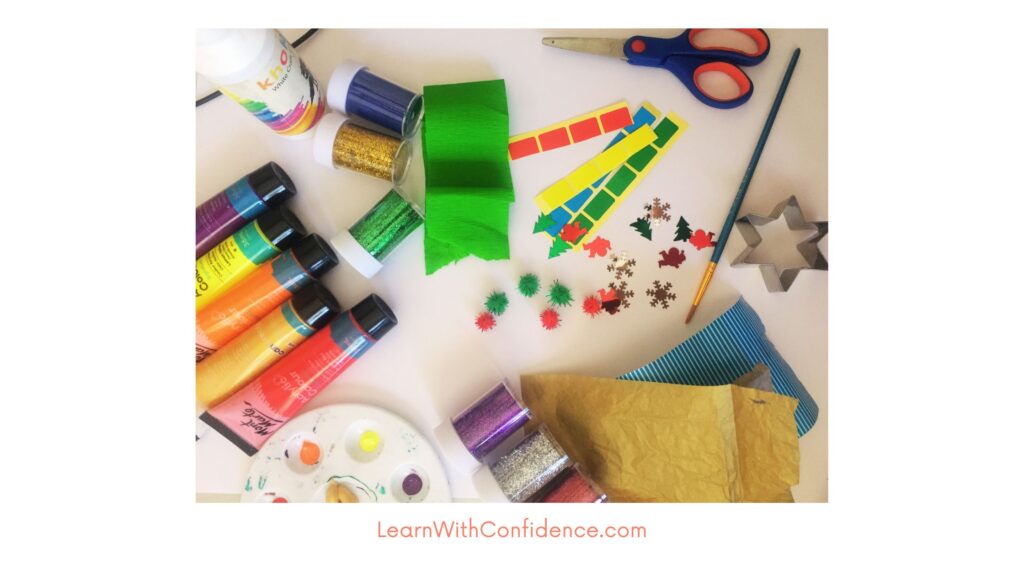
Here’s the list of things you’ll need for this craft. Or at least what I used. Something that’s awesome about this craft is that you can actually do anything and use any variety of things for decorations – the flexiblity is fantastic!
You’ll need:
- White A3 paper or cardboard
- Paint – Craft or Acrylic (Definitely green, and any others – we used red, yellow, orange, purple and gold)
- Sharpie or marker
- Star cookie cutter
- Stickers (I found some random rectangular one. But you can use ANY but if you want to stick to the theme, some Christmas ones will be fun!)
- Christmas confetti
- Christmas or colorful paper
- Pompoms
- Glitter (if you dare…)
- Craft glue
- Scissors
- Paintbrushes (I used one for painting with and a dry one for dusting glitter)
I am all for using what you have before buying new things, so when we started digging around a bit I found a bunch of craft things I’d forgotten we had. #doompiles
Steps to creating the Christmas Tree Craft
Here’s how we made this fun Fine Motor Christmas Tree Craft. I’ve included the steps and how they can be used to develop your child’s fine motor skills.
1) Handprints for the Christmas Tree
Create the shape of the Christmas Tree with green handprints. Paint your little one’s hand with the green paint. We just did one hand but you could do both. Place three prints on the bottom layer, two on the middle layer and one on top to create that triangular shapes.
This is a great sensory part of the craft – having wet paint painted onto their whole hand. Talk about how it feels: is it cold, is it wet, is it squishy, is it ticklish to have it painted on? If your child struggles with it being painted on, use a sponge and dab it over their hands instead.
I’d suggest rather to paint it on or use a sponge to dab it all over their hand.. This ensures proper coverage without wasting a lot of paint. Leave it to dry properly before decorating.

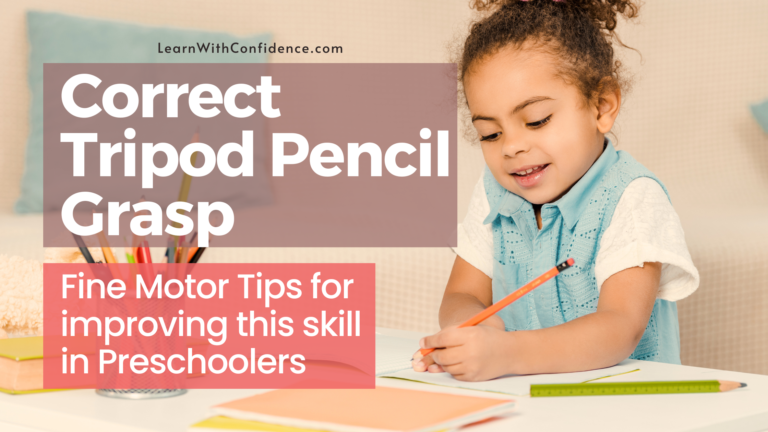
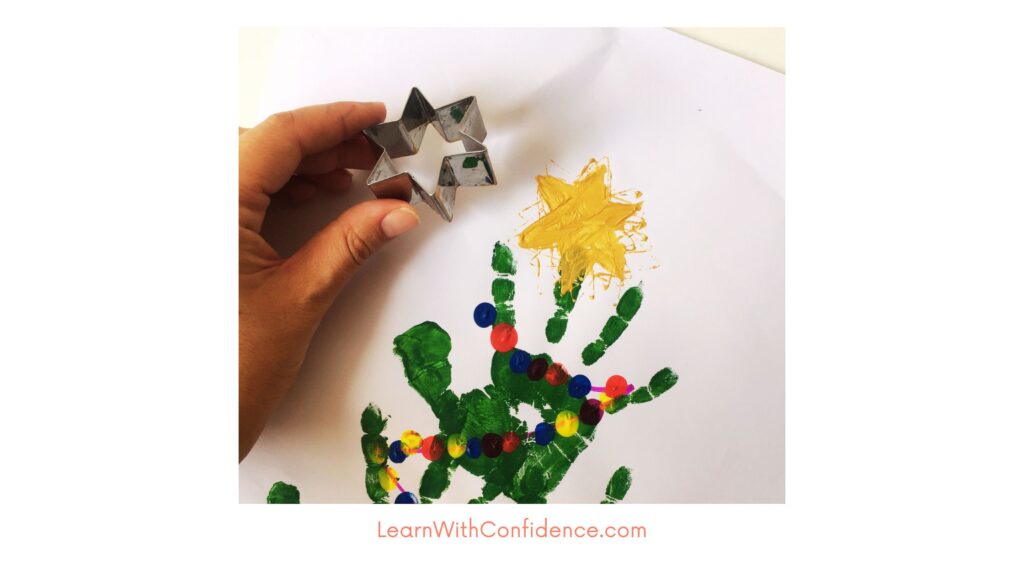
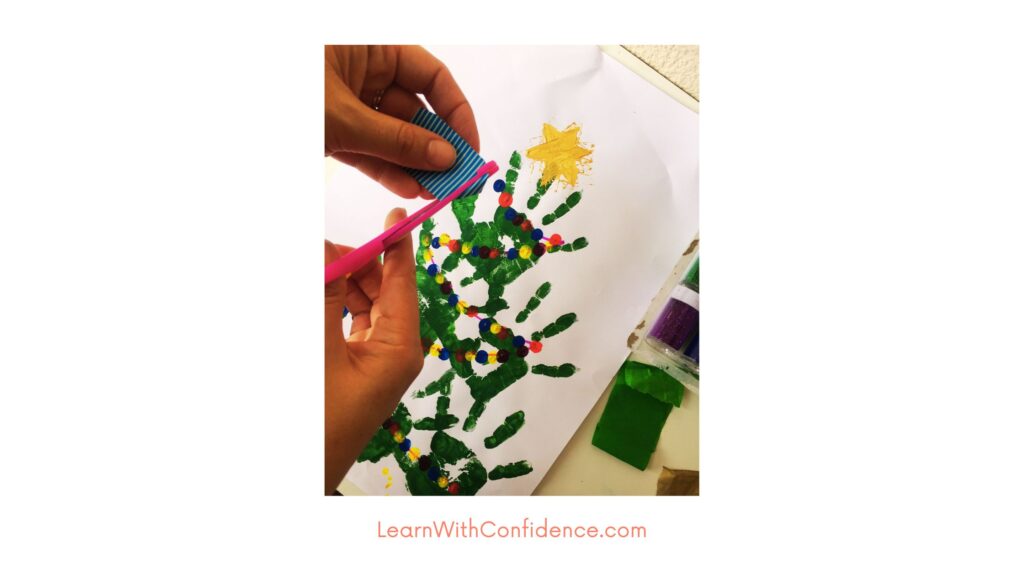
2) Christmas Star on top
Start with the star at the top. Use the gold paint and paintbrush to paint the edge of the star cookie cutter. This is quite a challenge because you’re putting a lot of paint onto a very narrow edge. Pres it down gently at the top to create the star outline. You can let them paint inside if they want to with the paintbrush, or finger tips.
Make sure they’re holding the paintbrush with the correct tripod grasp (like when holding a pencil). Older toddlers will move the paintbrush with their fingers, younger preschoolers will use their wrists. That’s completely developmentally appropriate.
Remind them to press down gently using their finger tips to control the placement of the cookie cutter.
Finish it off with some gold glitter right at the end.
3) Fingerprint tinsel or garland
Using the marker, draw a garland / tinsel “string” zig-zagging down the tree. Have your little one dip their index fingertip in the paint they would like to use and put fingerprint dots on the line. They can choose how they want to space them out and what colors to use, but encourage them to keep the dots on the lines.
This is a great activity to practice visual spatial perception as your little one has to perceive where their finger tip is and place it on the line. They also have to place their fingerprint in relation to other fingerprints and perceive how spaced out they are.
4) Scrunched paper baubles
Use that scrap Christmas paper, tissue paper or any colored paper (even a colorful page from a magazine will do!) for this part of the craft. Have your preschooler tear the paper into small pieces and then, using their fingertips (rather than the whole hand) of both hands to scrunch up the paper into little balls. Older preschoolers can be challenged to do this with just one hand, including the scrunching and rolling.
Stick the little balls of paper onto the Christmas Tree with the craft glue.
This activity build strength in the fingers and in the “arch” of the hand. It also helps their little finger practice moving in a coordinated manner. Encouraging your preschooler to use their finger tips rather than their whole hand helps to build the right muscles in the right places for other fine motor tasks.
5) Cutting skills for Christmas Tree Decorations
You can use those scraps of paper for this too. Have your child snip the paper into little pieces and then using the craft glue, stick them onto the Christmas Tree.
Scissor skills are an important milestone your preschooler is learning and mastering. Encourage them to hold their scissors correctly with their dominant “strong” hand and use their non-dominant “helping” hand to hold the paper carefully as they cut it.
6) Fine Motor Sticker Skills
Stickers are always so much fun for kids! So add some to this activity too! Any will do, but if you want to stick to the theme, some glittery, sparkly or Christmas themed stickers will be great too.
Watch as they peel the stickers off the paper, and place them down in the open spaces they want to decorate their Christmas Tree. Check that they’re using their fingertips and that their strong and helping hands are working together to accomplish the goal. Sticker activities build strength and coordination as well as developing bilateral integration and hand-eye coordination.
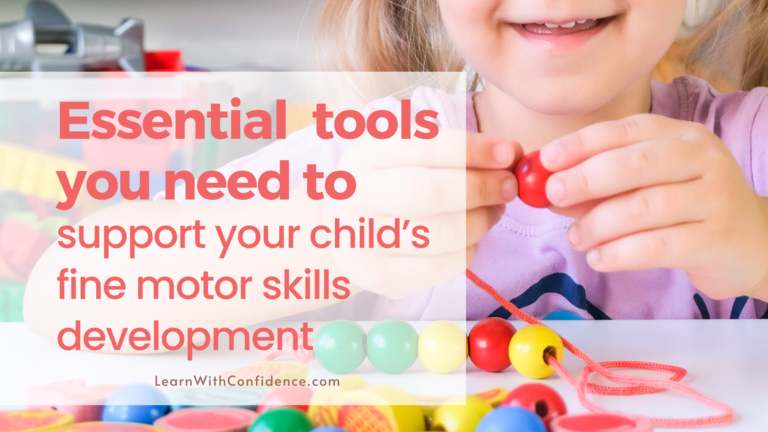
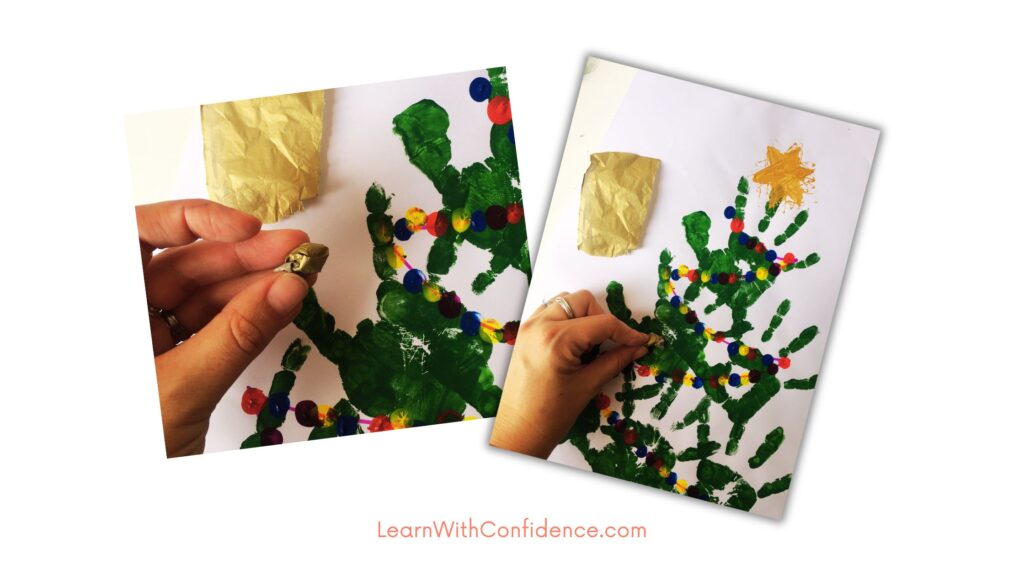
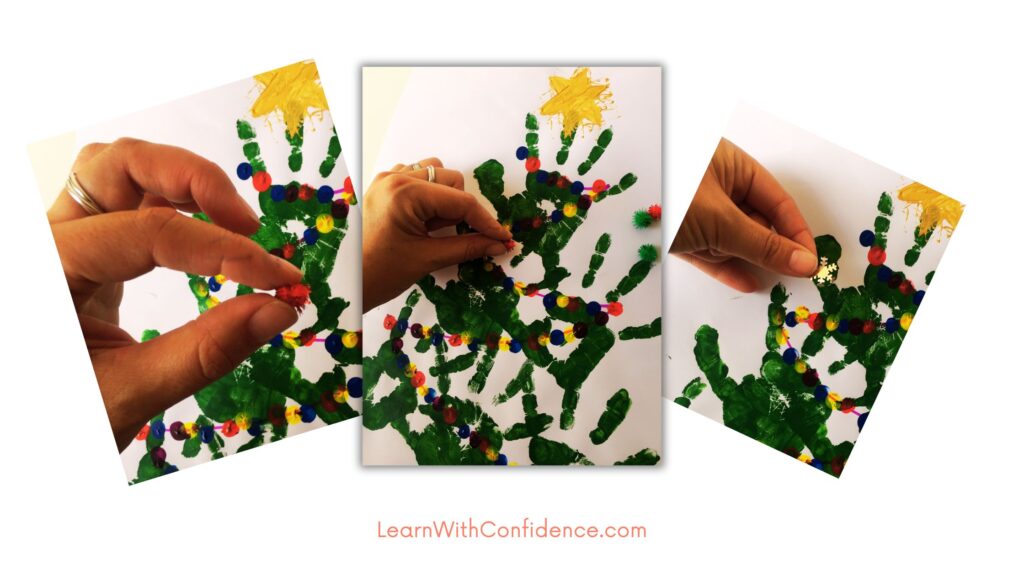
7) Pompoms and Christmas confetti decorations
Pompoms remain one of the best essential tools needed for fine motor activities, and this Christmas confetti offers your child a pretty, shiny decoration to add to their Tree. Put blobs of craft glue on the Christmas Tree and have your child place the pompoms and confetti on the blobs.
Again, remind them to use their correct pincer grasp (index finger and thumb) to pick up and place the decorations. They’ll be practicing proprioception with this activity too as they have to be careful with how hard they push down on heir decoration when placing it on the blob of glue.
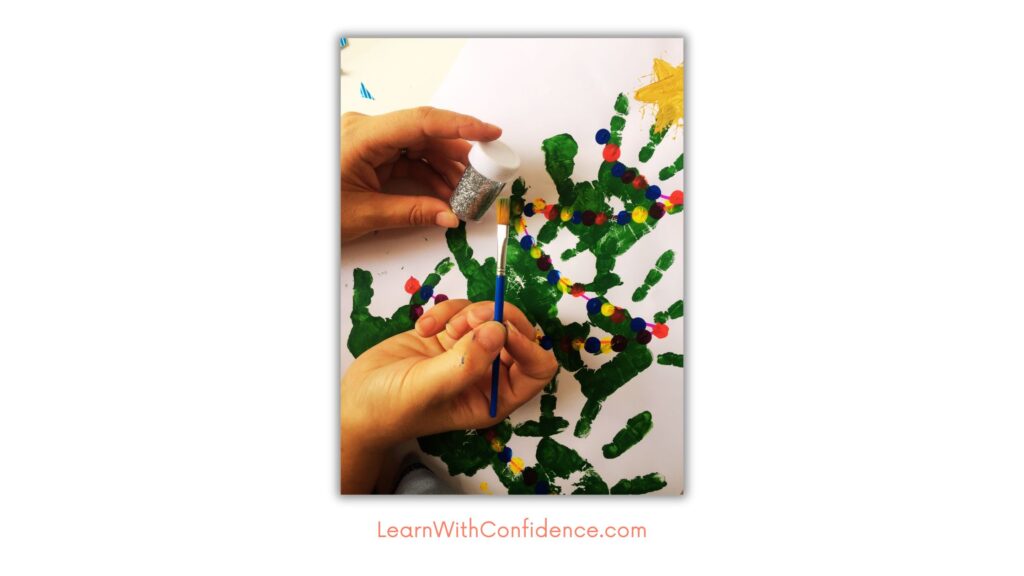
8) Glitter (…everywhere!)
This is the final step, and while I want to say it’s optional, it’s Christmas, and Christmas and glitter just seem to go together! If you can get the “sprinkle” containers with little holes in them, that’s a better option, but we had tubs I had to keep a close eye on.
Spread a little craft glue in squiggles, in open spaces on the tree. Dip the dry paintbrush in the glitter and flick the bristles gently over the space where the glue is. Be careful not to dip the brush into the glue and get it wet and gluggy.
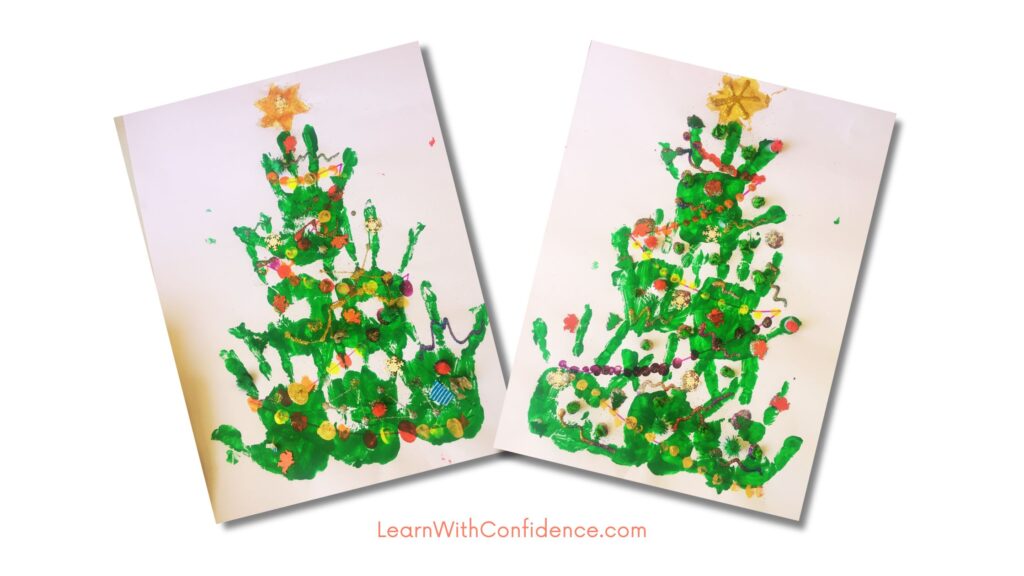
The final product – a fun bit of Christmas Decor
And there you have it! Your Fine Motor Christmas Tree Craft is ‘complete and ready to share with everyone! I cut around ours and stuck them on black paper to make them “pop” but you could leave them as is or put them on a different color.
Now you have some cute homemade decor for the holidays, the kids had fun and AND you can feel like they learnt something meaningful during their Christmas break! Win-win-win!
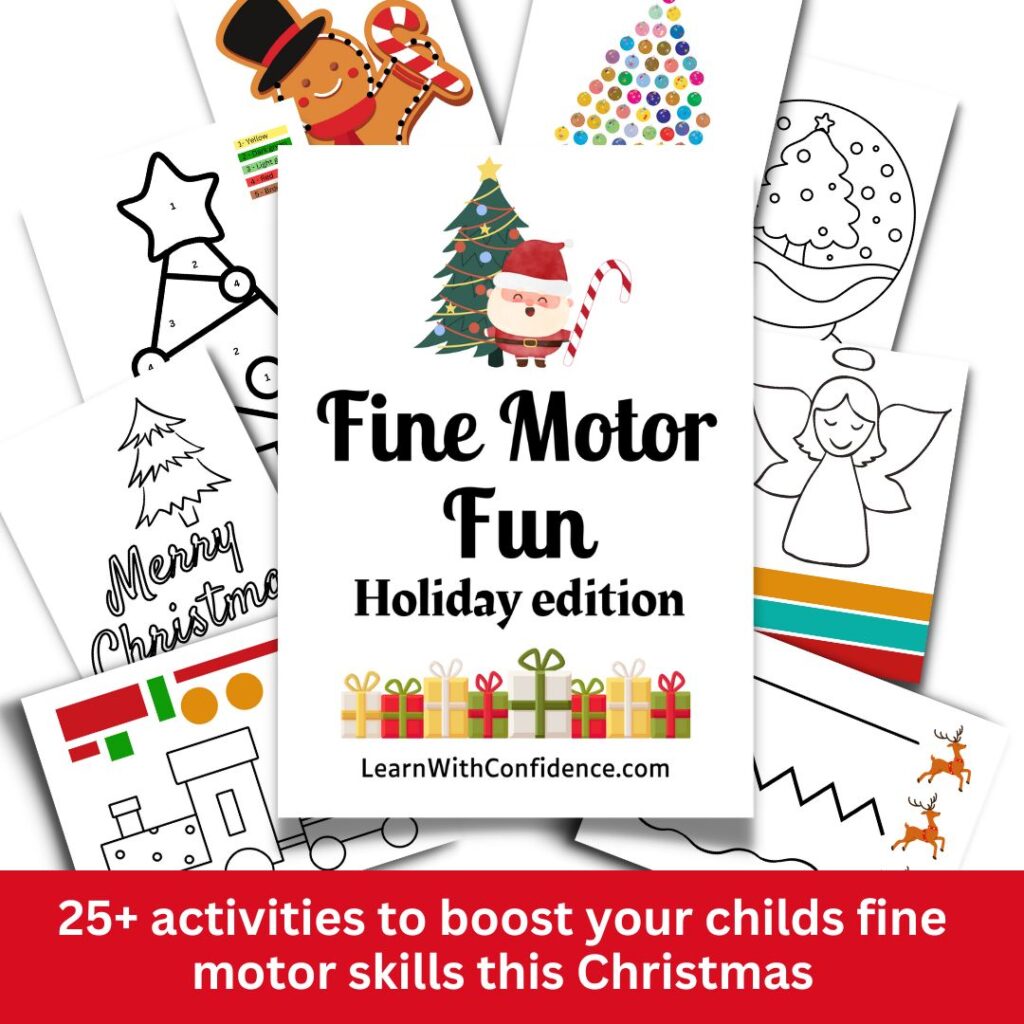
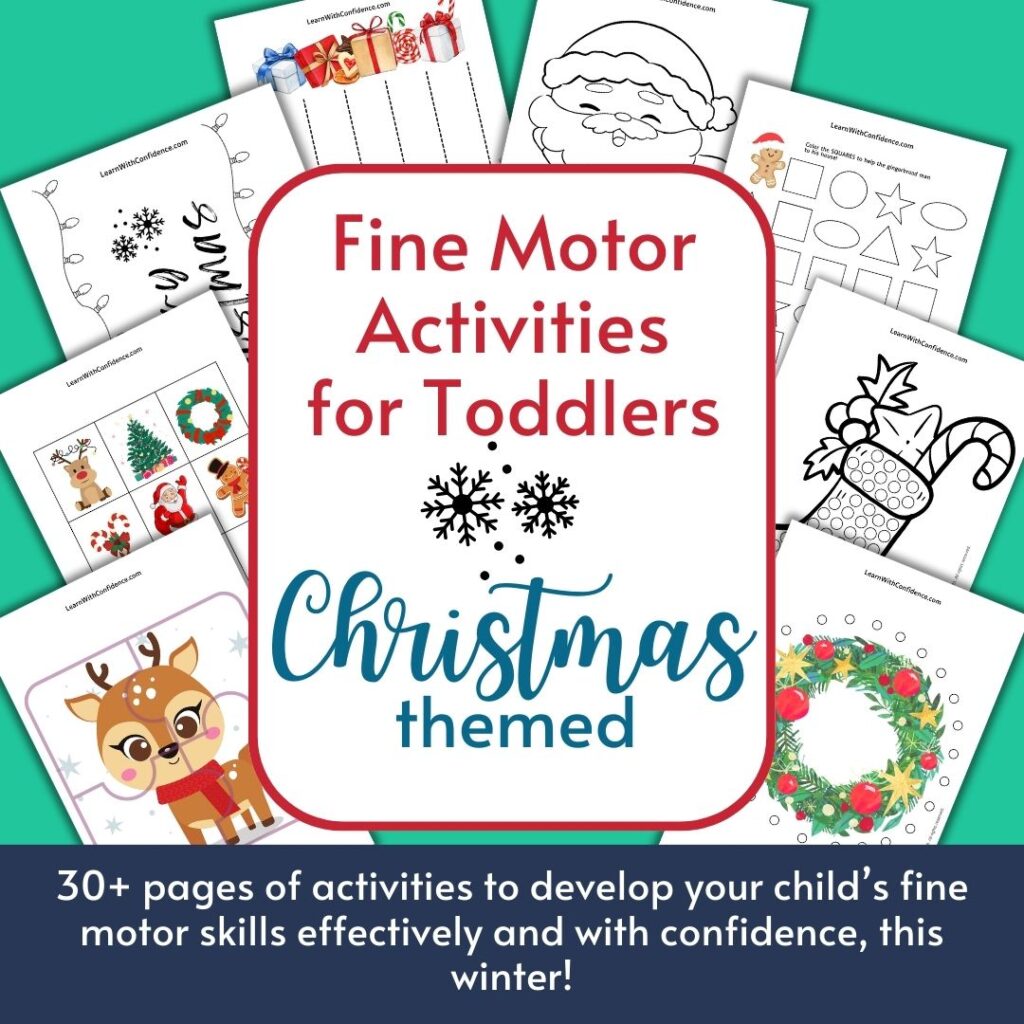
Looking for more Fine Motor Activities for your Preschooler?
Loved this activity? Here are some more awesome Fine Motor goodies for Christmas.
Connect with me
Have you got a new way to play with your child while you have fun developing their fine motor skills – drop a comment to let us know!
Feel free to reach out in the comments or send me an email to connect. It’s my mission to equip and empower you to help your child succeed – you are, after all, the best person for that job, because you are the expert on your child.